Imaging Your MicroSD Card
Your EGB320 kits contain a microSD card. The microSD card will be used to host your Raspberry Pi operating system, as well as any data you choose to store on the Pi throughout the course of this semester. The microSD card is most likely blank, however a Raspbian image with several components, such as OpenCV3 and Python3 is provided, see below for details. Image your microSD card please use the following guide.
We have created a Raspbian image for EGB320 which contains most of the tools you may require throughout this semester, and this will be made available to you via blackboard for use on your Raspberry Pi’s. This guide will provide instructions for imaging your microSD card with the provided EGB320 image. Whilst you are not required or obliged to use the EGB320 Raspbian image, please be aware the install timeframe for OpenCV can be in the range of 5-10 hours, so if you choose to prepare an image yourself, you will need to allow time for this installation process.
ALTERNATIVE SETUP INSTRUCTIONS
If you do not wish to use the provided EGB320 image, the following links will get you started. Please ensure you are aware of installation times and requirements prior to selecting this option.
- To download and install Raspbian, click here
- To download and install Ubuntu Mate, click here
- To install OpenCV3 on a Raspberry Pi 3 (assumes Raspbian Stretch OS), click here
Download the Raspberry Pi Image
The EGB320 Raspbian Stretch image can be downloaded via the link available here. Downloading this file will require approximately 16GB of space on your harddrive. Due to the size of the file, we recommend you download the image while connected to QUT or eduroam WiFi. The file we provide will have a ‘.img’ file extension, and is ready to use immediately after download (do not try to extract or uncompress the EGB320 image file, it has not been compressed).
Download an Image Writing Application
Raspberry Pi Imager
Raspberry Pi have developed a graphical SD card writing tool that works on Mac OS, Ubuntu 18.04 and Windows available here.
Once downloaded, select "Use custom" in the operating system and navigate to the .img file you downloaded. Select your micro SD card in the choose storage tab and write the SD card.
Windows
For Windows, the simplest disk imaging program is Win32 Disk Imager, which is available for free download here.
This is only a 12MB download, so should complete relatively quickly. Once it has downloaded, follow the prompts to install the disk imaging program on your local machine or a QUT lab desktop. This should only take a few seconds, and the program should then be ready to launch.
Linux or Mac OS
To install the Raspberry Pi image on your microSD card using Linux or Mac OS, there are a variety of tools available for use. One of the simplest to use is a program called Etcher, which is available on all platforms (however is a much larger download than Win32 so not recommended for Windows). Download Etcher by clicking here. This is an 80MB download, so be wary of this if you are not using QUT WiFi. The file will require extraction after download, but can then be immediately launched.Write the Image to the MicroSD Card
Connect the MicroSD Card to Your Computer
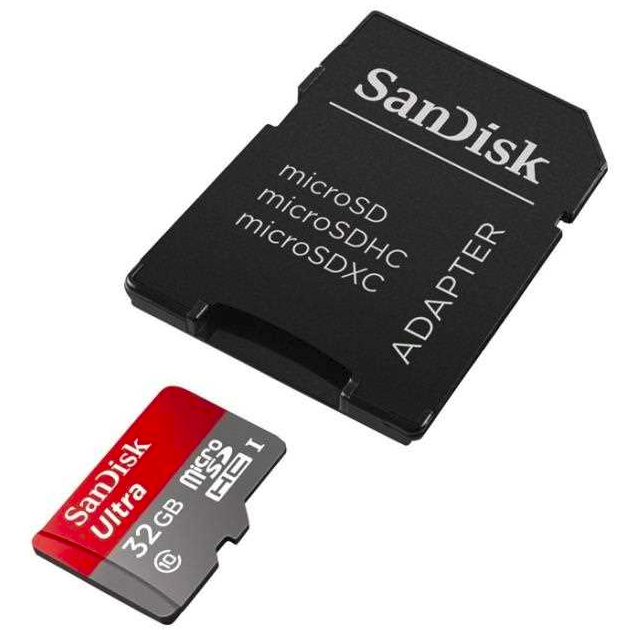
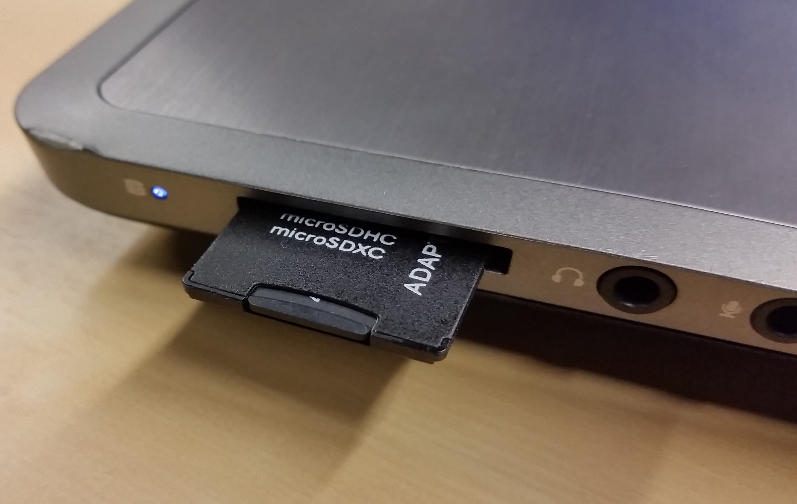
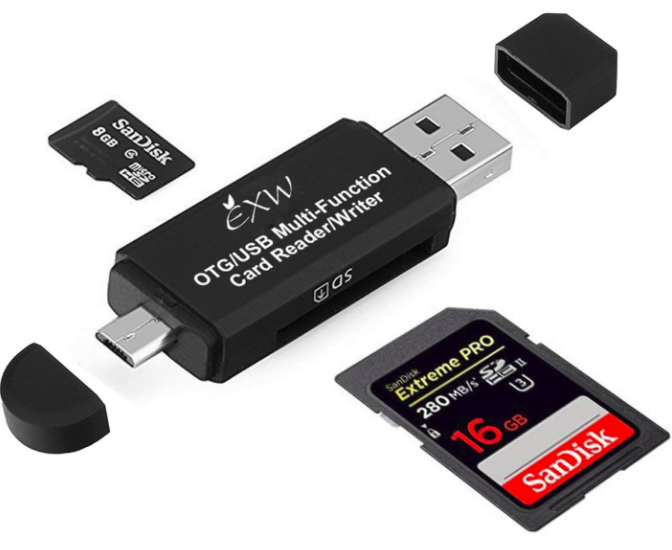
To write the image to your microSD card, simply insert the microSD card into the SD card adapter, and insert into your computer’s SD card slot. If you do not have an SD card slot, you will need to insert the SD card into an SD to USB adapter.
MicroSD to SD to Computer
MicroSD to USB Adapter (For Those Without an SD Card Port)
Write the Image to the MicroSD Card
To write the image file to your microSD card, complete the following steps;
- Open your image writer program, which will be either Win32 Disk Imager or Etcher if you followed the previous steps.
- Select the Raspberry Pi image file from your computers file system.
- Select the device which you want to write the image to – be very careful to select the correct drive (that of your microSD card). If you choose the wrong drive, you may wipe and/or damage the device.
- Review your selections, ensure you have chosen the correct image file and drive.
- Click the ‘Flash’ or ‘Write’ button in your imaging program.
- Wait for the flash to complete. This can typically take about 20 minutes.
- Upon completion, eject your devices and insert the microSD card into your Raspberry Pi.
- You should now have a working operating system on your Pi!